
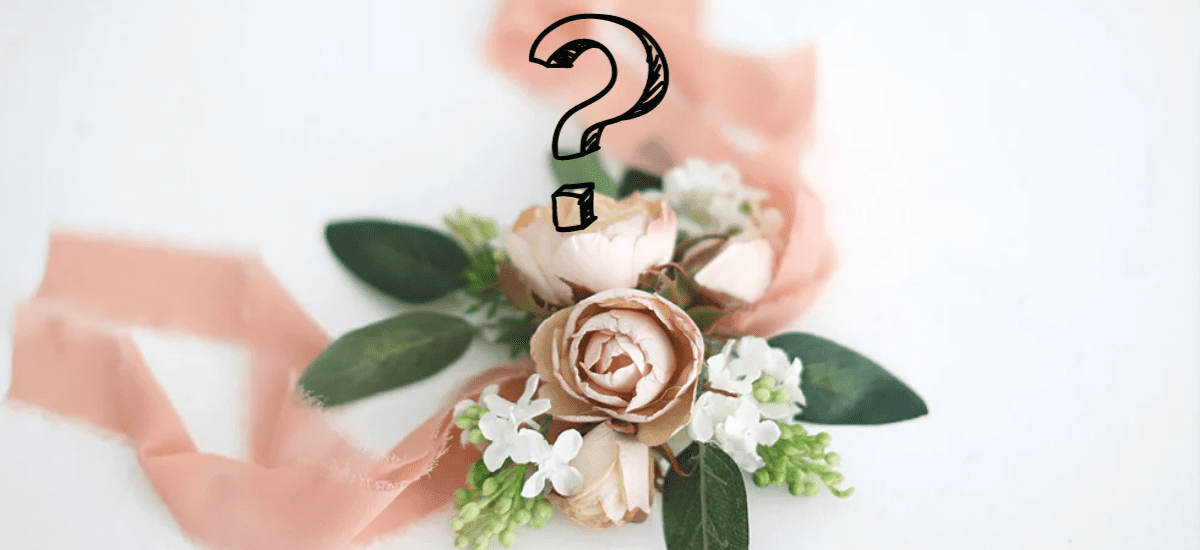
Wooden flowers can prove to be an enjoyable and rewarding craft project. While, on the one hand, they can add beautiful décor to any occasion and are better suited to long life than actual flowers, they offer creativity and personalization of the final product. Such wooden flowers will spruce up any home beautifully, can be given as a very special gift, or be used to add a touch of exclusivity to a wedding or any other kind of special occasion. In this tutorial, explore the materials you’ll need, multiple techniques for realistic wooden flowers, and ideas for customizing your blooms. Why Wooden Flowers?
Before we learn what and how to, let’s understand one of the reasons why the interest in wooden flowers has only grown over time:
- Longevity: Wooden flowers are always fresh. They never wither or die. They are a keepsake that can literally last years.
- Personalization: Wooden flowers can be painted, stained, or finished in any colour or finish you might desire to accord with your décor or occasion.
- Sustainability: The use of wood, in particular reclaimed, is more environmentally friendly compared to the purchase of imported flowers.
- Allergy-free: For those allergic to pollen, wooden flowers offer the ideal salvation; the beauty of florals minus the sneezes.
Materials Needed
In making these wooden flowers, you’ll need the following materials:
- Wood: Use light-weight wood like pine, basswood, or birch. You can also buy pre-cut flower shapes from craft stores.
- Wooden dowels or skewers: These will be your stems.
- Sanding paper: This helps to smoothen rough edges of the wood.
- Wood glue: Necessary to glue together some parts of the flowers, as needed.
- Paints/wood stains: One will require acrylic paints or wood stain for giving the requisite color to the flowers.
- Paintbrushes: One will require some tools for painting or staining the flowers.
- Wooden disks or bases: These are optional and may be used for a sturdy base of your flowers.
- Sealant: This would be in clear varnish or Mod Podge, which will seal and protect your finished flowers.
- Craft knife or saw: If you’d like to cut your wooden shapes out of larger wood pieces.
- Flowers templates: Either printable templates or patterns for flower shapes Step-by-By-Step Process Step 1: Preparing the Wood
Cutting Shapes
If it is solid wood you are working with, you could cut out flower shapes using a craft knife or saw. You can even find flower templates online to trace on to your wood. You may decide to go with a rose shape, a daisy, or perhaps a tulip.
Sanding
Finally, using sanding paper, sand your cut-out wood flowers to smooth out any sharp edges that may cause splinters. This will give a clean and polished look to your work.
Step 2: Painting and Finishing
Base Color
With paint or stain, apply a base color on your flowers in as many shades as you wish to get to acquire some depth. Let it dry completely before adding more coats or fine details.
Details
With a smaller brush, you can add as much detail in the center of each petal, on the veins, or in the middle of the flower as you want. This is where you can give your imagination wings.
Step 3: Making the Stems
Use the wooden dowels, which are now possibly of a size shorter than what you intended, and color them based on your preferences. The dowel has now basically become the stem of your flower.
Step 4: Joining Everything
In case you have layered flowers, say rose petals, adhere every layer together from the base to the tip using wood glue. Note that you should hold it until the glue is secure.
Step 5: Attach the Stems
Now that you have the flower shape bent to your satisfaction, place the bottom of the flower onto the cot end of the dowel or skewer. You might like to glue it in place.
Step 6: Finishing Touches
Allow the flowers to dry completely. After they have dried, a sealant can be used with the paint and wood. This is particularly important when using the wooden flowers outside.
Step 7: Organizing and Displaying
These wooden flowers can be displayed in a vase, flowers can be arranged with them, or a bouquet can be created out of them. Be creative! Ribbons, twine, or burlap can be added for an extra flair.
Ideas for Personalization:
- Mixed Media: Employ the use of fabric, paper, or even wooden flowers in conjunction with fabric or metal to give your design more dimension.
- Flowers of Different Sizes and Shapes: Make flowers of various sizes and types to get an eclectic look.
- Themed Designs: Make flowers around a particular theme or season. For example, some fall flowers painted with the colors of autumn.
- Engravings: Names, dates, personal messages, or anything you like can be engraved in the flowers using a wood burner to make it personalized.
- Themed Colors: Coordinate your flowers to anything going on or a special event. Think pastels for Easter, vibrant for a summer celebration, and so on.
Conclusion
Making wooden flowers is not only a crafty process you undertake but an experience to express your creativity; a creation of perpetual beauty.
Just with some supplies, a little bit of time, and the urge to arrange wooden flowers for home decor or for a special homemade gift, sure to make anyone smile, you can have it done. Whether you like the single vase or have a huge bouquet with oodles of arrangements in your mind, ideas are ample to set yourself up with a wooden spring flower bouquet. So, grab your supplies and jump into this creative project to bring life to your wooden flowers!

I am Amelia, a professional who is powerfully driven by an extreme passion for the minute intricacies of flowers and trees. Through years of rigorous studies and practical exposure to botany and horticulture, I managed to nurture expertise that cuts across the scientific and aesthetic fronts of plant life.